Whether or not you followed along in Part 1 which walks through deploying WordPress, the steps here will help acclimate everyone to utilizing Library Items, Custom Instance Types, Scripts, Blueprints, and Applications within the Morpheus CMP. If you have interest in looking at how to manually deploy WordPress, take a look at my post here.
With that, let’s take a quick intro into the different pieces.
Morpheus Instances, Blueprints, and Applications
Morpheus approaches VM/container provisioning in a couple different ways. The primary method of deploying a single machine or replicas of same machine (scale factor), is via instance provisioning. In the most basic form, this is a VM with only an OS loaded on it. Taking it further, it could even be a machine with something like SQL, or in this case WordPress installed.
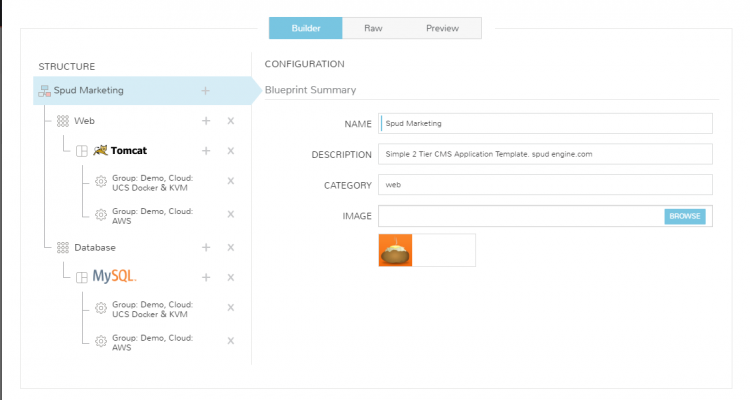
Blueprints consume Morpheus instance types (TerraForm, CloudFormation, and ARM available as well) in a multi-tiered approach. Each tier can have configurations set for different cloud types, allowing users to pick the cloud that makes the most sense for each. Blueprints can export/import it’s code via YAML or JSON which is truly IaaC. To consume a Blueprint, we navigate to Provisioning > Apps, and select the Blueprint you’d like to provision.

Further Instances Breakdown
The instances your user’s can deploy are defined/created under Provisioning > Library. Here the sub-headers are Instance Types, Layouts, Node Types, Options Types, Option Lists, File Templates, and Scripts. Let’s quickly run through what these mean before we begin making our own.
- Instance Types – The catalog items users can consume when deploying VMs and Containers. Blueprints are made of 1 or more Instance Types.
- Layouts – Alerternate configurations within an Instance Type. Examples are a WordPress Instance Type, but 1 layout is “WP on Ubuntu” and another is “WP on CentOS”. Layouts can also point to different cloud options, allowing multiple placement options for the end user.
- Node Types – Pointers to specific Virtual Images (templates/ISOs/etc). These are consumed by Layouts.
- Option Types – Captured fields during provisioning. User input such as text boxes, passwords, drop downs, or a checkbox.
- Option Lists – Static or Rest lists for drop down Option Types.
- File Templates – Configuration/Application files that should interpret Morpheus variables and upload to completed machines. An example is a server config that you want to pass hostname/IP or any captured values from users into the file.
- Scripts – This area allows for native PowerShell and Bash scripting that can execute locally on the machines created.
The overall hierarchy of provisioned objects in Morpheus goes:
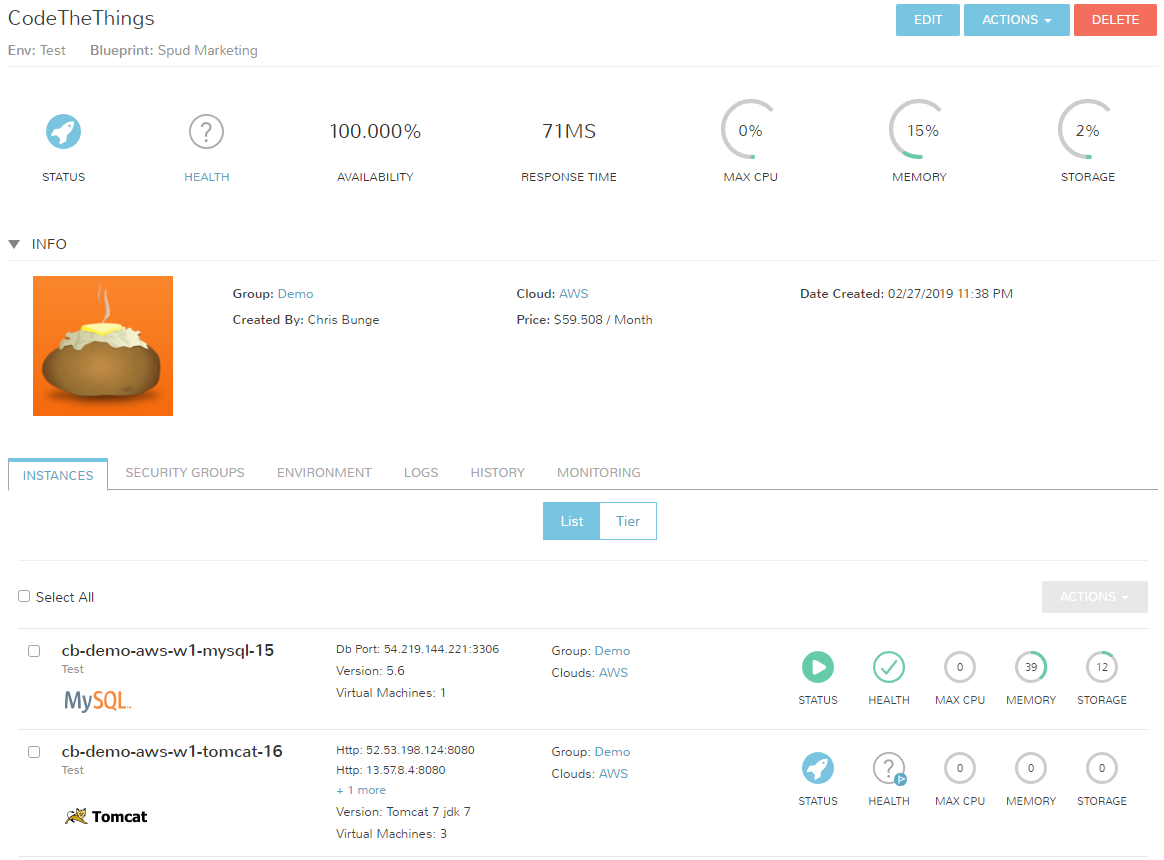
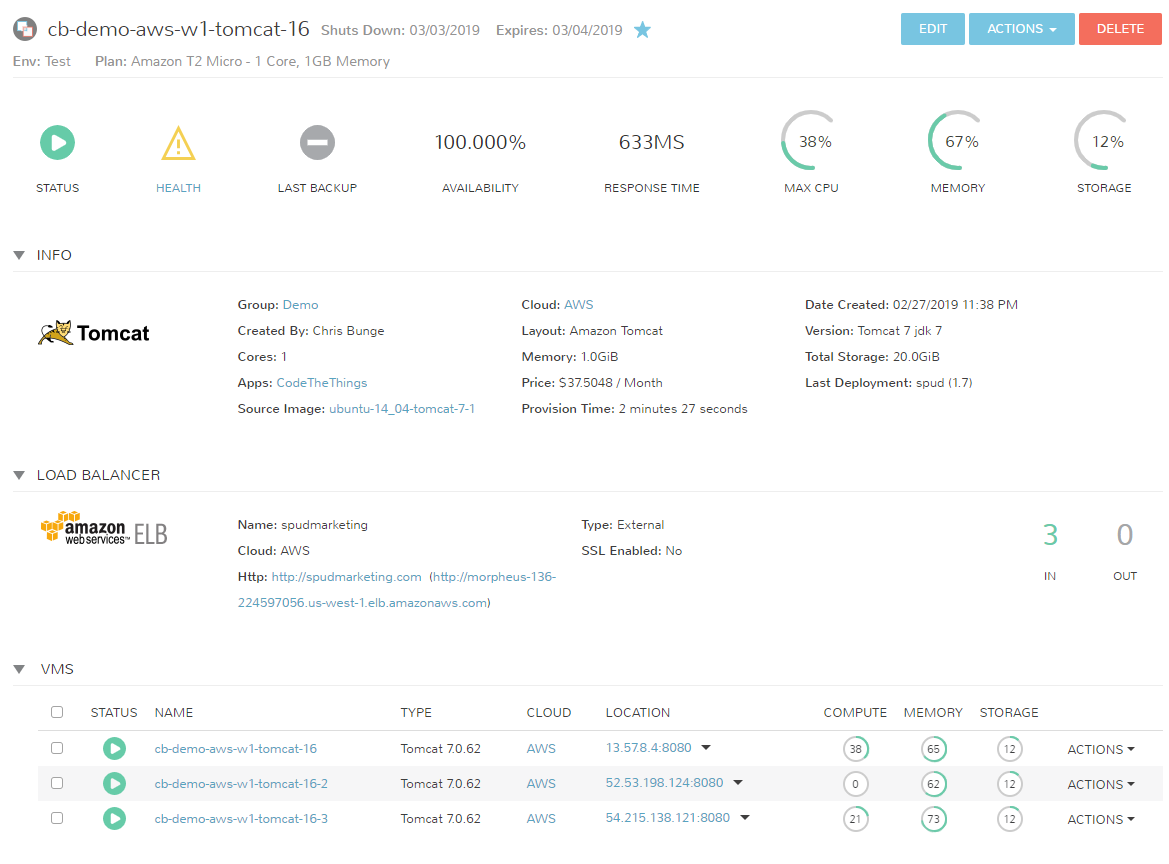
Apps > Instances > VMs/Containers.


Ok, let’s start building our first Instance!


Anonyx
says:interesting and very informative, this helped me a lot thanks