Use Case
For my first article, where else better to start than with how I created this site! There were a few options out there for getting online. WordPress has it’s advantages as a website platform, and these are the advantages I landed on.
- Free! Yes, that is a massive advantage from the gate. I wanted to find something I could startup quickly and cheaply.
- Wide variety of free and premium themes. Each of the themes are easily customizable via coding and readily available plugins.
- Overall ease of use. You don’t need to know the ins and outs of webdesign to get going with WordPress. Any questions that remain, there is a large user base willing to lend help online.
Goals
Part 1, The Manual Method
- Install CentOS on VMware (cloud choice should not matter)
- Install All-in-One WordPress and MySQL
- Configure SSL Certificates
- Configure HTTP and WWW redirects
Part 2, Let’s Inject Some Automation
- Build Custom Instance Types (Catalog Items)
- Create scripting tasks for parity with Manual Tasks
- Build All-in-One Layout
Part 3, Blueprint Time!
- Build Multi-Tiered Layout
Let’s Get Started!
-
Create a VM
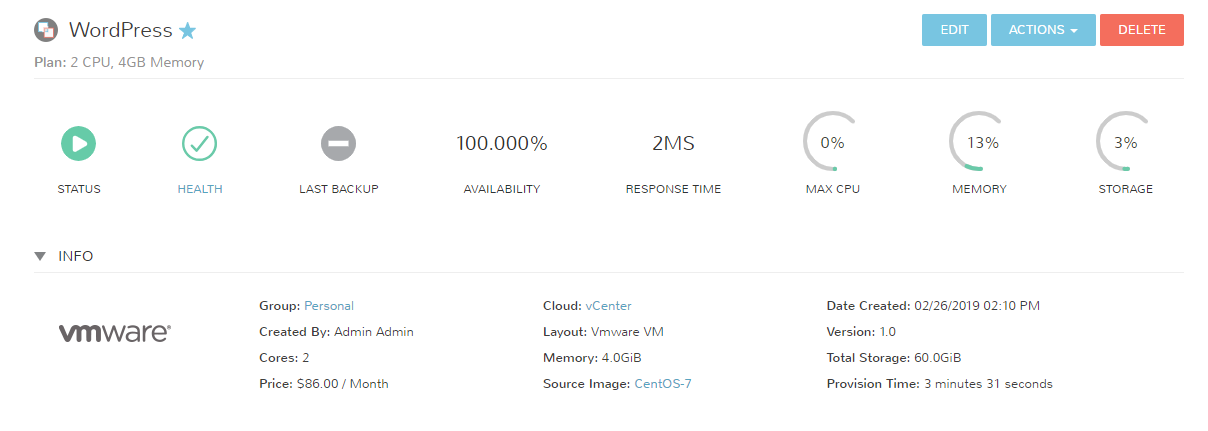
We need a host for our platform. I’m deploying a VM in my Vmware 6.7 lab. A simple CentOS 7.3 image will suffice. Additionally I have joined this to my domain, but is not a requirement.
Specs for my VM named “WordPress”:

-
Update Yum and Install PHP/MySQL Packages
Next, SSH into the VM WordPress located at 192.168.0.31. Then run the following commands to update the image and install the necessary packages.
Note: WordPress 5.1 recently dropped, and recommends installing PHP 7.3 for added security benefits.
Configure Repo for Updated PHP, epel-release, and Enable Repo
setenforce 0
sudo yum -y install http://rpms.remirepo.net/enterprise/remi-release-7.rpm
sudo yum -y install epel-release yum-utils
sudo yum-config-manager --enable remi-php73
Install PHP and MySQL
sudo yum -y install httpd mod_ssl mariadb mariadb-server php php-common php-mysql php-gd php-xml php-mbstring php-mcrypt


